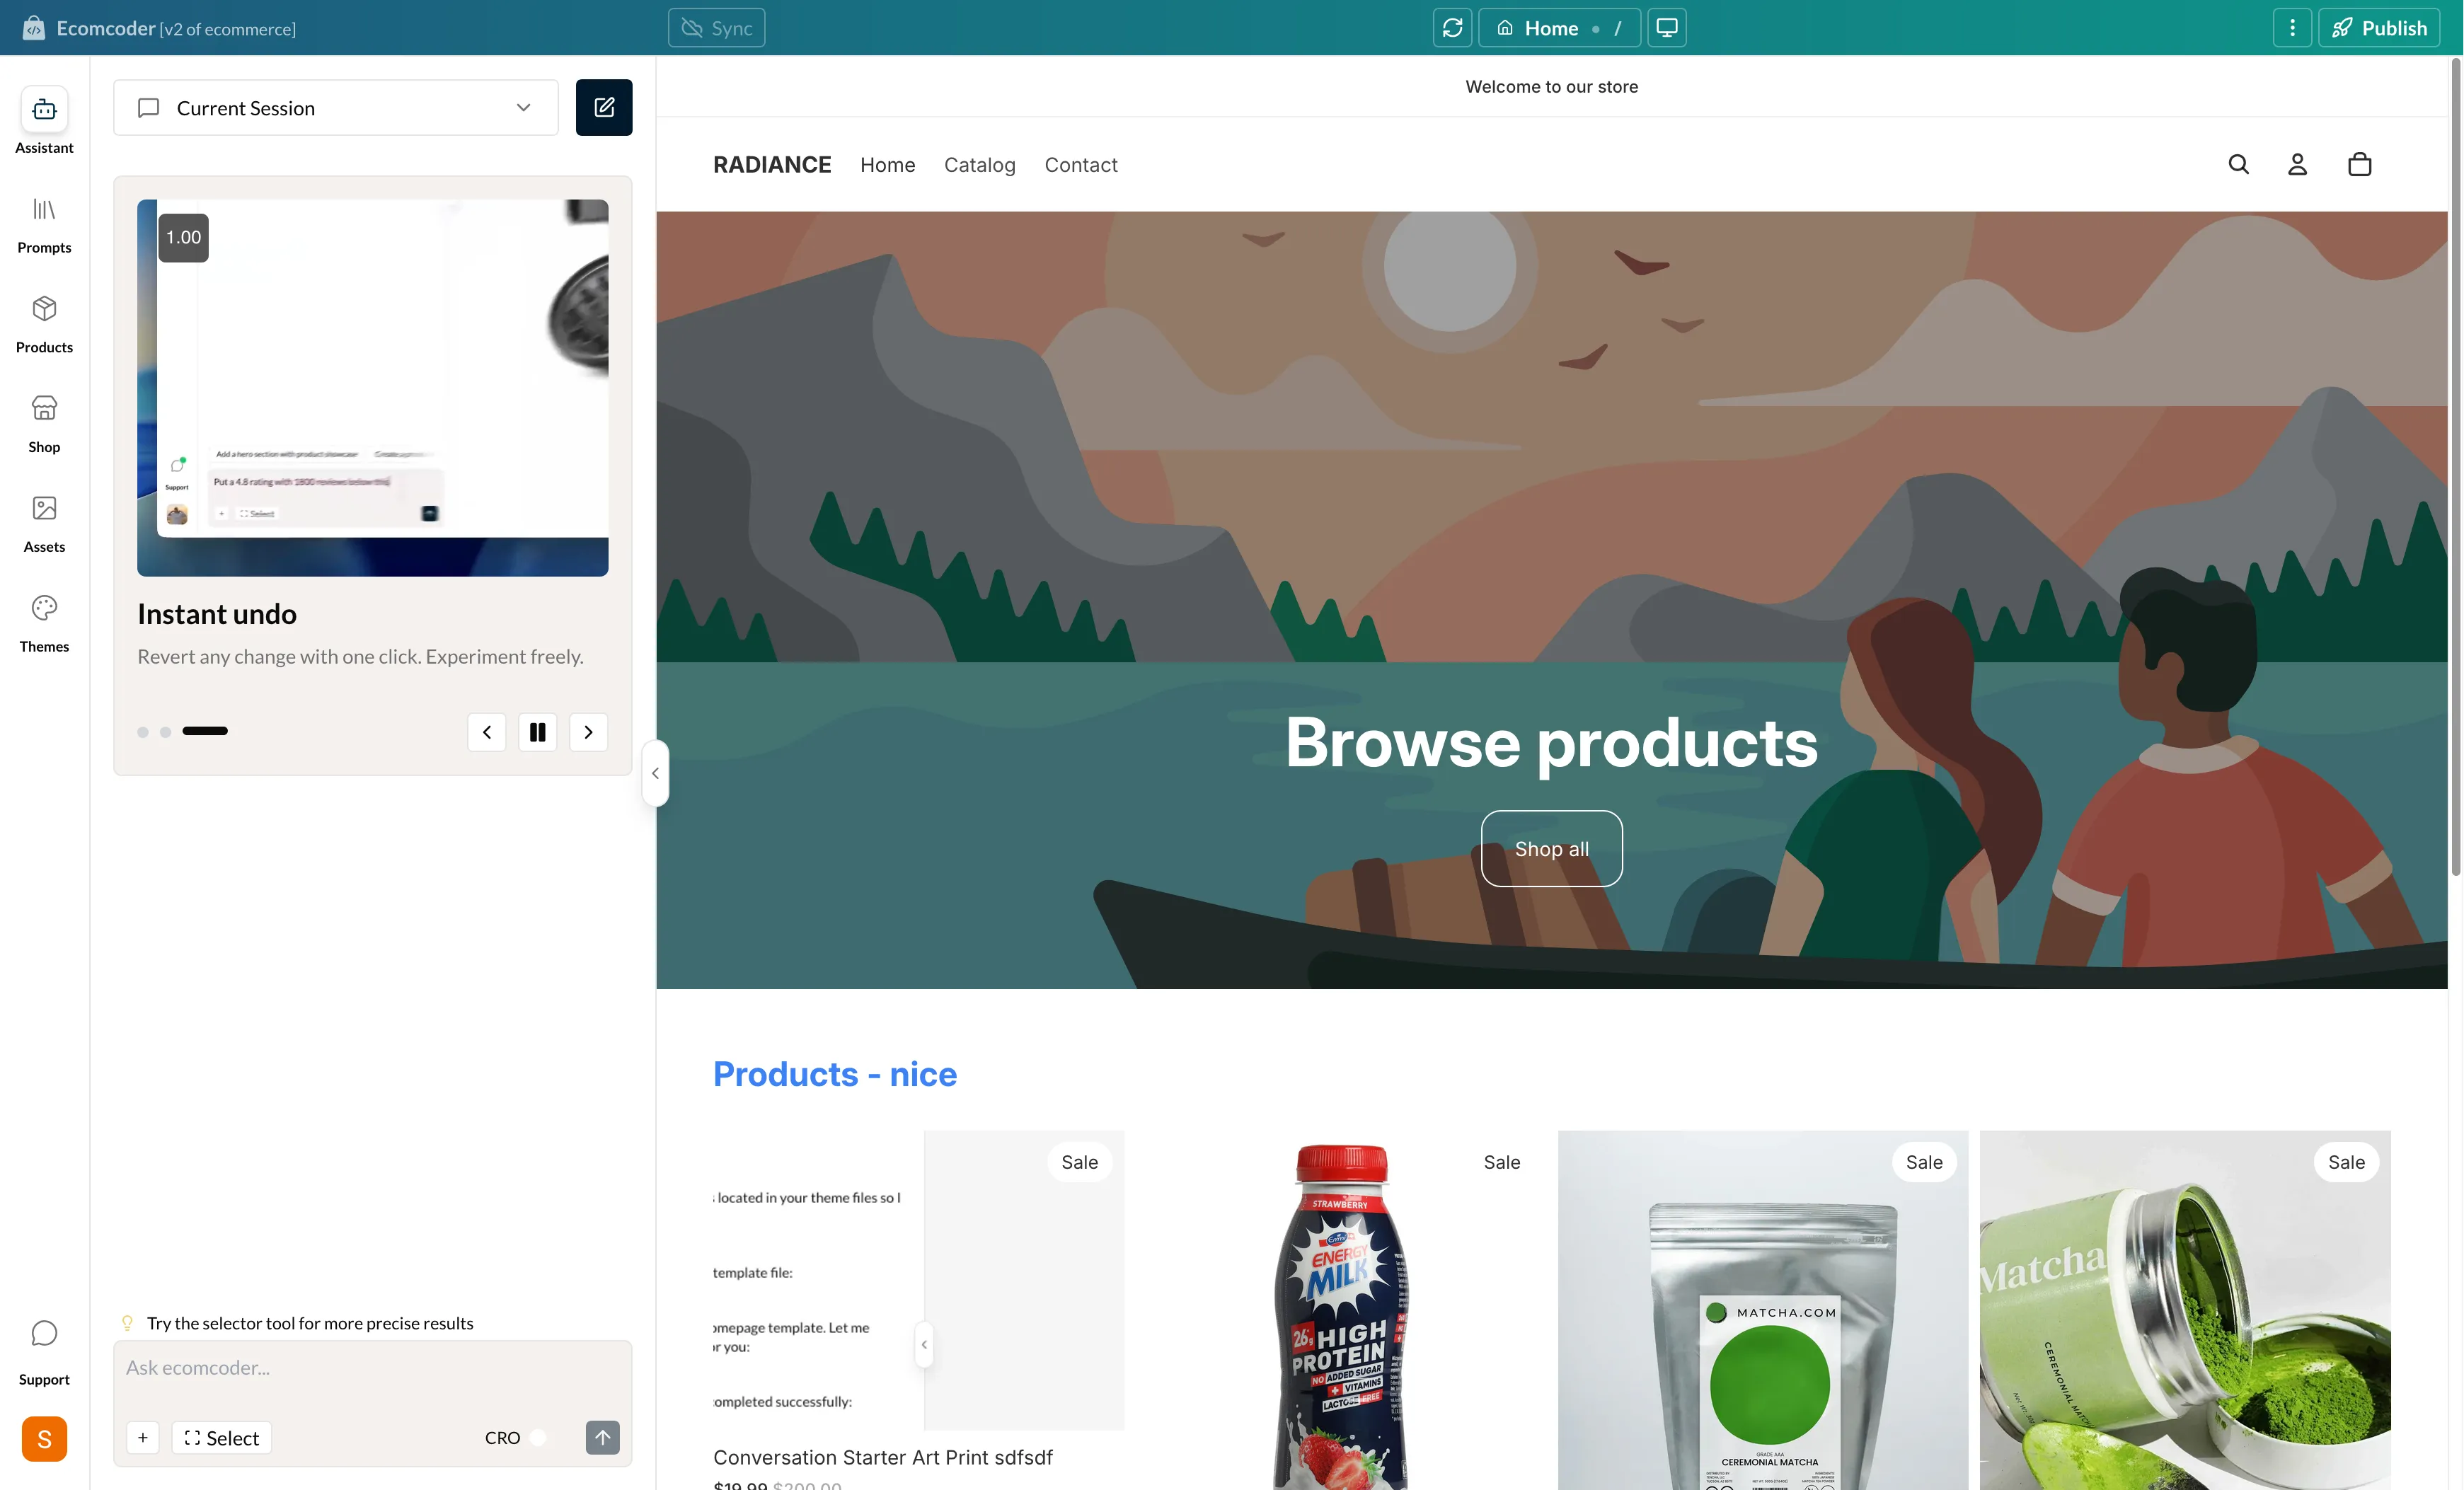
Dashboard Overview
The EcomCoder dashboard is a three-panel workspace where you interact with the AI, manage your store, and preview changes in real time.
Layout
The dashboard is divided into three areas:
- Navigation Sidebar (left) — Switch between features: Assistant, Prompts, Products, Shop, Assets, and Themes
- Middle Panel — The active feature's content area (chat messages, product list, etc.)
- Live Preview (right) — An iframe showing your store as you edit it
Header Bar
The header bar runs across the top and contains key controls for managing your preview and publishing changes.

Sync Toggle
The sync toggle controls bidirectional theme syncing between your development environment and Shopify. When enabled, changes you make in EcomCoder are automatically pushed to your Shopify development theme, and vice versa.
- A green cloud icon indicates sync is active
- Sync is available on paid plans only — free plan users will see an upgrade prompt
- You can configure sync per-theme from the Themes tab in the sidebar
Refresh
Click the refresh button to reload the preview iframe. This is useful when you want to see the latest state of your store after making changes.
URL Bar
The URL bar shows the current page being displayed in the live preview. It includes:
- A page type icon (e.g., home, product, collection)
- A page label describing the current page
- The URL path of the page
The URL bar updates in real time as you navigate within the preview.
Device Toggle
Switch between desktop and mobile preview sizes. When mobile is selected, you can choose from different phone size presets to see how your store looks on various devices.
Menu (Three Dots)
The three-dot menu contains additional options:
- Hard Reload — Restarts the development server entirely. Use this if the preview is stuck or not reflecting changes correctly.
Publish
The publish button lets you push your development theme to Shopify. You have two options:
- Push as Draft — Uploads your theme as an unpublished draft in Shopify. You can review it before going live.
- Push & Publish Live — Uploads your theme and immediately sets it as the active live theme.
Publishing to a live theme
If your store already has a live theme, the Push & Publish Live option will replace it. Make sure you're happy with your changes before publishing live.
Session Rollback (Version Control)
EcomCoder automatically creates a checkpoint every time you send a message. This means you can roll back your store's code to any previous point in the conversation.
How it works
- Every message is a checkpoint — Each message you send saves the state of your theme code at that moment
- Hover any past message — An edit icon appears on your previous messages
- Click "Edit from here" — This triggers a rollback to that checkpoint
- Confirm the action — A confirmation dialog appears to prevent accidental rollbacks
- Code is restored — Your theme files revert to the state they were in at that message, and the message text is loaded back into the input for you to modify and resend
This is effectively a point-in-time restore — like undo, but for any point in your conversation history.
Non-destructive
Rolling back restores your code to a previous state. Messages after the rollback point are removed from the conversation, but you can always re-send new instructions from that point.
Navigation Sidebar
The left sidebar has six tabs:
| Tab | Description |
|---|---|
| Assistant | AI chat interface for making changes |
| Prompts | Browse and use pre-built prompt library |
| Products | View and edit product data and metafields |
| Shop | Shop-level settings and discounts |
| Assets | Upload and manage images, videos, and files |
| Themes | Switch themes, clone, and manage sync |
Below the tabs you'll find:
- Support Widget — Quick access to help and support
- Profile Menu — Account settings and store switcher for managing multiple stores
Welcome Tour
When you first open the dashboard, a guided tour highlights the key areas:
- Preview Area — Where your store is displayed
- AI Chat — Where you talk to the assistant
- Navigation — How to switch between features
- Prompt Library — Pre-built prompts to get started
- Publish Button — How to push changes live
- Device Toggle — Switching between desktop and mobile views
You can replay the tour at any time from the profile menu.
Sidebar Collapse
On smaller screens or when you want more preview space, the middle panel can be collapsed. The navigation sidebar stays visible as icons only, giving you more room for the live preview.